Oracle has introduced new Multitenant Option from Oracle 12cR1 and this option allows a single container database (CDB) to host multiple pluggable databases.
Refer here for more details on Oracle Multitenant option.
Status of the PDBs can be checked using v$pdbs view,
select name, open_mode from v$pdbs;
show pdbs;

SQL> select name, open_mode from v$pdbs;

NAME            OPEN_MODE
--------------- ----------
PDB$SEED        READ ONLY
PDB1            READ WRITE
PDB2            READ ONLY
PDB3            MOUNTED  -->newly created pdb

SQL> show pdbs;

    CON_ID CON_NAME                       OPEN MODE  RESTRICTED
---------- ------------------------------ ---------- ----------
         2 PDB$SEED                       READ ONLY  NO
         3 PDB1                           READ WRITE NO
         4 PDB2                           READ ONLY  NO
         5 PDB3                           MOUNTED
SQL>
5. Open the PDB database in read-write mode
--Open source pdb if required:
alter pluggable database pdb2 close;
alter pluggable database pdb2 open;

--Open newly created pdb:
alter pluggable database pdb3 open;

Output:
SQL> alter pluggable database pdb2 close;
Pluggable database altered.
SQL> alter pluggable database pdb2 open;
Pluggable database altered.

SQL> alter pluggable database pdb3 open;
Pluggable database altered.
SQL>
We have successfully cloned PDB3 from PDB2 database and opened it in read-write mode.
Oracle has introduced new Multitenant Option from Oracle 12cR1 and this option allows a single container database (CDB) to host multiple pluggable databases.
Oracle has introduced new Multitenant Option from Oracle 12cR1 and this option enables an Oracle database to function as a container database(CDB). A CDB includes zero, one, or many pluggable databases. A PDB is a portable collection of schemas, schema objects, and nonschema objects that appears to an Oracle Net client as a non-CDB. All Oracle databases before Oracle Database 12c were non-CDBs.
Refer here for more details on Oracle Multitenant option.
Refer here to create the database using DBCA in graphical mode.
In this article I will demonstrate an overview of creating a CDB and PDB database using DBCA in silent mode
Oracle has introduced new Multitenant Option from Oracle 12cR1 and this option enables an Oracle database to function as a container database(CDB). A CDB includes zero, one, or many pluggable databases. A PDB is a portable collection of schemas, schema objects, and nonschema objects that appears to an Oracle Net client as a non-CDB. All Oracle databases before Oracle Database 12c were non-CDBs.
Refer here for more details on Oracle Multitenant option.
In this article I will demonstrate an overview of creating a CDB and PDB database using DBCA.
Select OracleSingle instance database, leave the template section with default one selected and click on Next
Provide the details as per your requirement, Global database name: SID: Select Create as Container datbase Number of PDBs: PDB Name:
Provide the Datafile storage type as per your environment
Specify the Recovery files storage type, Flash Recover Area and Size and click Next
Select the listener if already have one or Create a new one as below
Choose Automatic memory management and provide the Memory Target Size,
Provide the processes Count
Choose the Character set and click on Next
Select Configure Enterprise management option and provide the EM express port. If EM cloud control is in place, provided the details. Then click on Next
Provide the Password and click on Next
Select Create database and click next
Verify the parameters and click on Finish to start the DB creation.
Database has been successfully created, click on close
Connect to database and verify,
[oracle@cdb12c /]$ . oraenv
ORACLE_SID = [cdbdev] ?
The Oracle base remains unchanged with value /u01/app/oracle
[oracle@cdb12c /]$
[oracle@cdb12c /]$ sqlplus "/as sysdba"

SQL*Plus: Release 12.2.0.1.0 Production on Sun Jan 17 20:47:35 2021

Copyright (c) 1982, 2016, Oracle.  All rights reserved.


Connected to:
Oracle Database 12c Enterprise Edition Release 12.2.0.1.0 - 64bit Production

SQL> select name, open_mode, cdb from v$database;

NAME      OPEN_MODE            CDB
--------- -------------------- ---
CDBDEV    READ WRITE           YES

SQL>
Check the PDB stauts
SQL> col name for a15
SQL> select name, open_mode from v$pdbs;

NAME            OPEN_MODE
--------------- ----------
PDB$SEED        READ ONLY
PDB1            READ WRITE

SQL> select name, pdb, network_name from v$services;

NAME                   PDB             NETWORK_NAME
--------------------   --------------- -------------------------
pdb1.localdomain       PDB1             pdb1.localdomain
SYS$BACKGROUND         CDB$ROOT
SYS$USERS              CDB$ROOT
cdbdevXDB              CDB$ROOT         cdbdevXDB
cdbdev.localdomain     CDB$ROOT         cdbdev.localdomain

SQL>
Container database CDBDEV and Pluggable database PDB1 created successfully.
Oracle has introduced a new feature from Version 12c which will enable us to recover tables from RMAN backups using RECOVER TABLE command. In this article I will demonstrate how to recover a table with new name to a specified point in time using RMAN.
Refer the below link to get detailed steps on Recover table from RMAN backup on Oracle 12
Oracle has introduced a new feature from Version 12c which will enable us to recover tables from RMAN backups using RECOVER TABLE command. In this article I will demonstrate how to recover tables to a specified point in time using RMAN.
Below informations are required to recover tables from an RMAN backup,
Names of the table that has to be recovered
Point in time/SCN to which the table has to be recovered
Whether the recovered tables must be imported into the target database
Below are the steps which I am testing here:
Creation of test table and import some records
Get the current SCN for PITR recovery
Backup the database and archivelogs using RMAN
Drop the table which has to be recovered
Recover the table,
with the same name
with different name
Verify the recovered tables
1. Create test table and import some records
Connect to database schema to create two tables tab1 and temp1 and insert some records
SQL> conn faheem/faheem
Connected.

create table faheem.tab1 (id number(7), name varchar2(20), name_ar varchar2(30));

insert into faheem.tab1(id, name, name_ar)
select rownum, 'Employee ' || to_char(rownum), 'اسم'|| to_char(rownum)
from dual
connect by level <= 100000;
commit;

create table temp1 as select * from tab1;
2. Get the current SCN for PITR recovery
SQL> select current_scn from v$database;

CURRENT_SCN
-----------
    1699874
3. Backup the database and archivelogs using RMAN
RMAN> run
{
BACKUP AS COMPRESSED BACKUPSET DATABASE
TAG 'FULLDB'
format '/home/oracle/rmanbackup/db2/db_level1_%t_%s_p%p';
BACKUP AS COMPRESSED BACKUPSET
ARCHIVELOG ALL NOT BACKED UP 1 TIMES
TAG 'ARCHBKP'
format '/home/oracle/rmanbackup/db2/al_%t_%s_p%p';
backup current controlfile
TAG 'CTL'
format '/home/oracle/rmanbackup/db2/cf_%t_%s_p%p';
}
4. Drop the tables which has to be recovered and purge recyclebin
SQL> conn faheem/faheem
Connected.
SQL> drop table temp1;
Table dropped.

SQL> drop table tab1;
Table dropped.

SQL> select * from tab;

TNAME                          TABTYPE     CLUSTERID
------------------------------ ---------   ---------
BIN$sUOvFIk8I2TgU9E4qMCInw==$0 TABLE

BIN$sUOvFIk9I2TgU9E4qMCInw==$0 TABLE

SQL> purge recyclebin;
Recyclebin purged.

SQL> select * from tab;
no rows selected

SQL>
5. Recover the table
Here I am testing the table recovery with two ways,
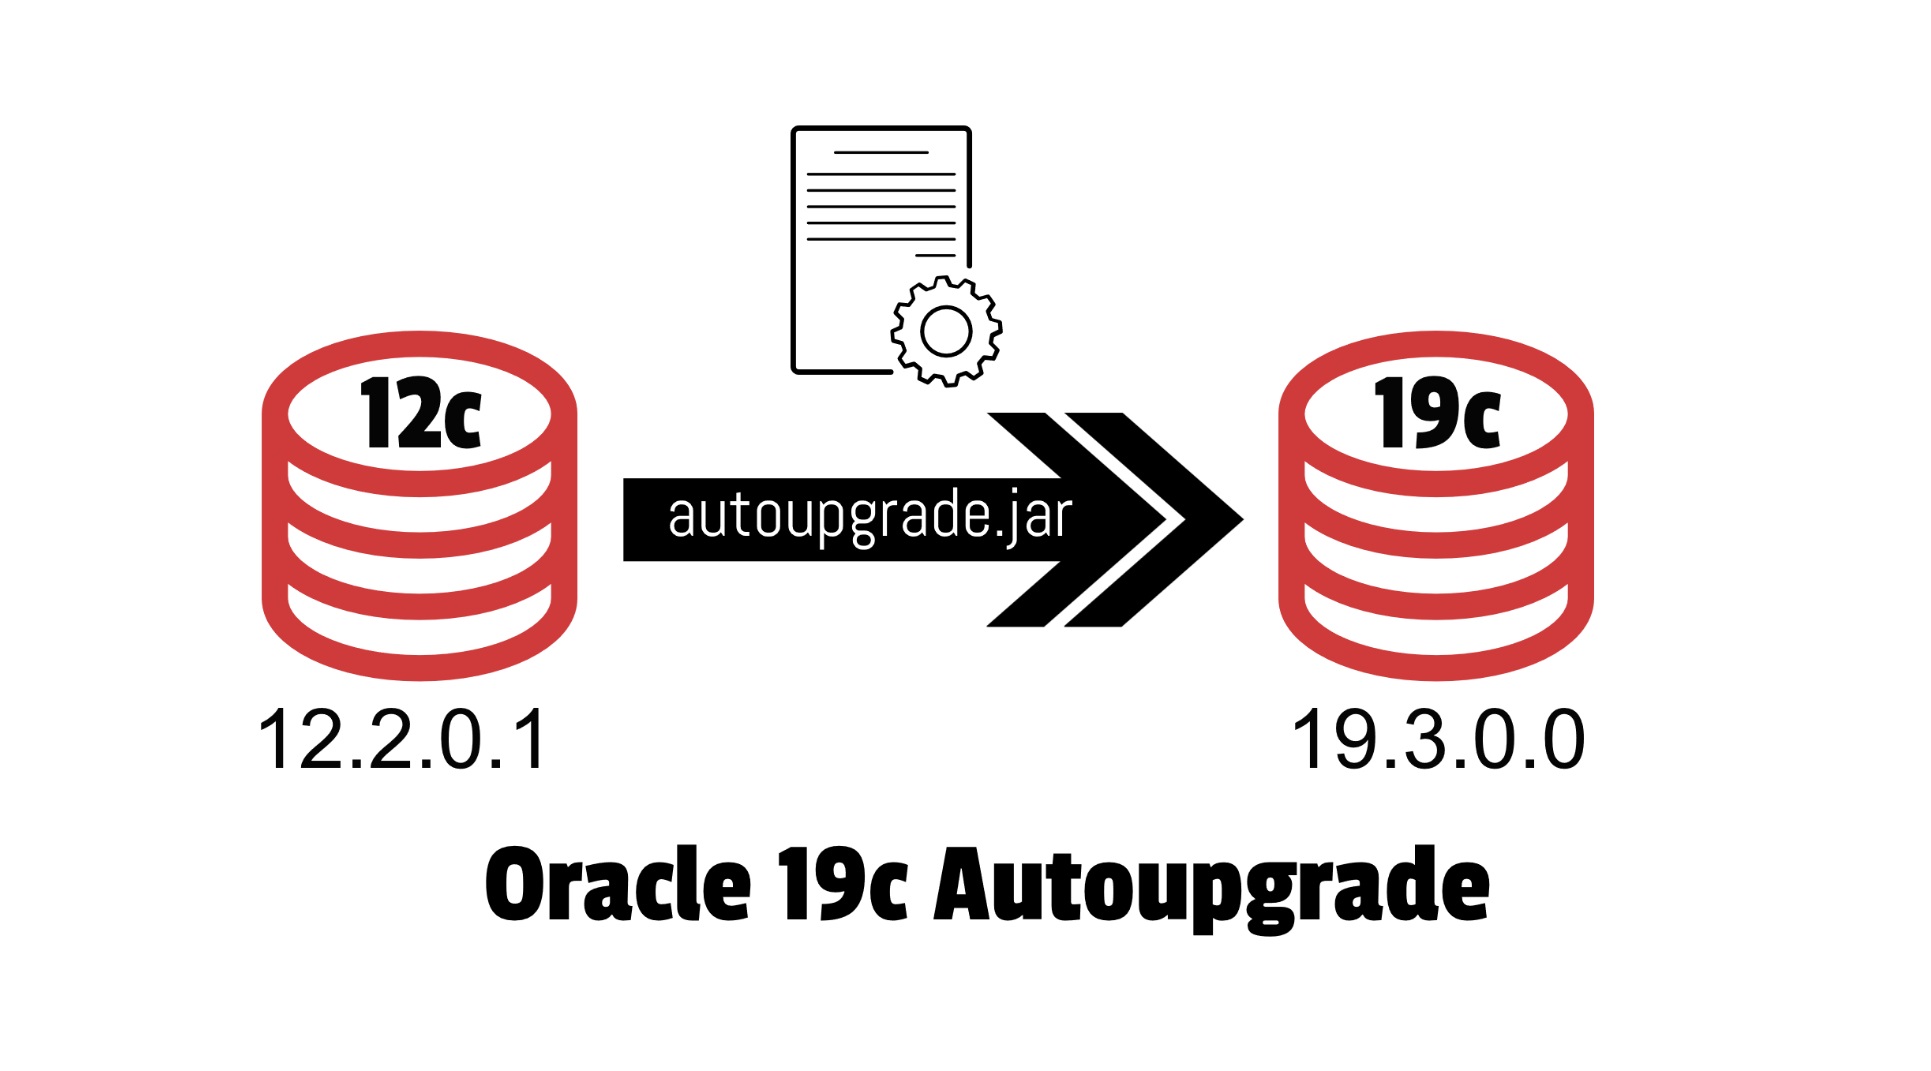
Oracle Database Autoupgrade Utility is a new feature designed in Oracle 19c to automate the Upgrade process which Identifies issues before upgrade, Performs Preupgrade actions, Deploying the upgrades and Performs Post upgrade actions . You can upgrade multiple databases at the same time using a single configuration file.
Refer the below links to get more information on Oracle 19c Autoupgrade Utility,
SQL> select name, open_mode, version, status from v$database, v$instance;

NAME      OPEN_MODE            VERSION           STATUS
--------- -------------------- ----------------- ------------
CDBDEV    READ WRITE           12.2.0.1.0        OPEN
1. Install Oracle 19.3.0.0 binaries
I have already completed the installation of 19c, Refer here for step by step installation of Oracle 19.3.0.0 on Linux 7 64bit.
2. Prerequisite for Autoupgrade
Download the latest autoupgrade.jar file
Autoupgrade utility autoupgrade.jar file exists by default under $ORACLE_HOME/rdbms/admin directory from Oracle 19.3 release onwards, however Oracle strongly recommends to download the latest AutoUpgrade version before doing the upgrade. Click here to download the latest version.
Replace the autoupgrade.jar with the latest version downloaded
Autoupgrade Analyze mode checks your database to see if it is ready for the upgrade. This will reads data from the database and does not perform any updates.
Execute autoupgrade in analyze mode with the below syntax,
[oracle@new19c 19c-autoupg]$ $ORACLE_HOME/jdk/bin/java -jar $ORACLE_HOME/rdbms/admin/autoupgrade.jar -config cdbdev_db_config.cfg -mode DEPLOY
AutoUpgrade tool launched with default options
Processing config file ...
+--------------------------------+
| Starting AutoUpgrade execution |
+--------------------------------+
1 databases will be processed
Type 'help' to list console commands

upg> tasks
+--+-------------+-------------+
|ID|         NAME|         Job#|
+--+-------------+-------------+
| 1|         main|      WAITING|
|35|     jobs_mon|      WAITING|
|36|      console|     RUNNABLE|
|37| queue_reader|      WAITING|
|38|        cmd-0|      WAITING|
|54|job_manager-0|      WAITING|
|56|   event_loop|TIMED_WAITING|
|57|   bqueue-101|      WAITING|
|61|     quickSQL|     RUNNABLE|
+--+-------------+-------------+
upg>
upg> logs
AutoUpgrade logs folder [/u01/19c-autoupg/upg_logs/cfgtoollogs/upgrade/auto]
logs folder [cdbdev][/u01/19c-autoupg/upg_logs/cdbdev/cdbdev]

upg> lsj
+----+-------+---------+---------+--------+--------------+--------+----------------------------+
|Job#|DB_NAME|    STAGE|OPERATION|  STATUS|    START_TIME| UPDATED|                     MESSAGE|
+----+-------+---------+---------+--------+--------------+--------+----------------------------+
| 101| cdbdev|PREFIXUPS|EXECUTING|FINISHED|20/11/19 03:46|03:48:44|Loading database information|
+----+-------+---------+---------+--------+--------------+--------+----------------------------+
Total jobs 1

upg> lsj
+----+-------+-----+---------+-------+--------------+--------+----------------------+
|Job#|DB_NAME|STAGE|OPERATION| STATUS|    START_TIME| UPDATED|               MESSAGE|
+----+-------+-----+---------+-------+--------------+--------+----------------------+
| 101| cdbdev|DRAIN|EXECUTING|RUNNING|20/11/19 03:46|03:48:52|Shutting down database|
+----+-------+-----+---------+-------+--------------+--------+----------------------+
Total jobs 1

upg> status
---------------- Config -------------------
User configuration file    [/u01/19c-autoupg/cdbdev_db_config.cfg]
General logs location      [/u01/19c-autoupg/upg_logs/cfgtoollogs/upgrade/auto]
Mode                       [DEPLOY]
DB upg fatal errors        ORA-00600,ORA-07445
DB Post upgrade abort time [60] minutes
DB upg abort time          [1440] minutes
DB restore abort time      [120] minutes
DB GRP abort time          [3] minutes
------------------------ Jobs ------------------------
Total databases in configuration file [1]
Total Non-CDB being processed         [0]
Total CDB being processed             [1]
Jobs finished successfully            [0]
Jobs finished/aborted                 [0]
Jobs in progress                      [1]
Jobs stage summary
    Job ID: 101
    DB name: cdbdev
        SETUP             <1 min
        GRP               <1 min
        PREUPGRADE        <1 min
        PRECHECKS         <1 min
        PREFIXUPS         1 min
        DRAIN             <1 min
        DBUPGRADE         12 min (IN PROGRESS)
------------ Resources ----------------
Threads in use                        [32]
JVM used memory                       [115] MB
CPU in use                            [13%]
Processes in use                      [18]

upg> lsj
+----+-------+---------+---------+-------+--------------+--------+--------------------+
|Job#|DB_NAME|    STAGE|OPERATION| STATUS|    START_TIME| UPDATED|             MESSAGE|
+----+-------+---------+---------+-------+--------------+--------+--------------------+
| 101| cdbdev|DBUPGRADE|EXECUTING|RUNNING|20/11/19 03:46|04:38:42|70%Upgraded CDB$ROOT|
+----+-------+---------+---------+-------+--------------+--------+--------------------+
Total jobs 1

upg> /
+----+-------+---------+---------+-------+--------------+--------+--------------------+
|Job#|DB_NAME|    STAGE|OPERATION| STATUS|    START_TIME| UPDATED|             MESSAGE|
+----+-------+---------+---------+-------+--------------+--------+--------------------+
| 101| cdbdev|DBUPGRADE|EXECUTING|RUNNING|20/11/19 03:46|06:31:20|95%Upgraded PDB$SEED|
+----+-------+---------+---------+-------+--------------+--------+--------------------+
Total jobs 1

upg> /
+----+-------+----------+---------+-------+--------------+--------+-------------+
|Job#|DB_NAME|     STAGE|OPERATION| STATUS|    START_TIME| UPDATED|      MESSAGE|
+----+-------+----------+---------+-------+--------------+--------+-------------+
| 101| cdbdev|POSTFIXUPS|EXECUTING|RUNNING|20/11/19 03:46|06:38:37|Remaining 1/9|
+----+-------+----------+---------+-------+--------------+--------+-------------+
Total jobs 1

upg> /
+----+-------+----------+---------+-------+--------------+--------+----------------------------+
|Job#|DB_NAME|     STAGE|OPERATION| STATUS|    START_TIME| UPDATED|                     MESSAGE|
+----+-------+----------+---------+-------+--------------+--------+----------------------------+
| 101| cdbdev|POSTFIXUPS|EXECUTING|RUNNING|20/11/19 03:46|06:43:37|Loading database information|
+----+-------+----------+---------+-------+--------------+--------+----------------------------+
Total jobs 1

upg> /
+----+-------+-----------+---------+-------+--------------+--------+---------------------+
|Job#|DB_NAME|      STAGE|OPERATION| STATUS|    START_TIME| UPDATED|              MESSAGE|
+----+-------+-----------+---------+-------+--------------+--------+---------------------+
| 101| cdbdev|POSTUPGRADE|EXECUTING|RUNNING|20/11/19 03:46|06:45:16|Creating final SPFILE|
+----+-------+-----------+---------+-------+--------------+--------+---------------------+
Total jobs 1

upg> /
+----+-------+-----------+---------+-------+--------------+--------+----------+
|Job#|DB_NAME|      STAGE|OPERATION| STATUS|    START_TIME| UPDATED|   MESSAGE|
+----+-------+-----------+---------+-------+--------------+--------+----------+
| 101| cdbdev|POSTUPGRADE|EXECUTING|RUNNING|20/11/19 03:46|06:46:01|Restarting|
+----+-------+-----------+---------+-------+--------------+--------+----------+
Total jobs 1

upg> Job 101 completed
------------------- Final Summary --------------------
Number of databases            [ 1 ]

Jobs finished successfully     [1]
Jobs failed                    [0]
Jobs pending                   [0]
------------- JOBS FINISHED SUCCESSFULLY -------------
Job 101 for cdbdev

---- Drop GRP at your convenience once you consider it is no longer needed ----
Drop GRP from cdbdev: drop restore point AUTOUPGRADE_9212_CDBDEV122010

[oracle@new19c 19c-autoupg]$
Check the upg_summary.log
Oracle Database Release 19 Post-Upgrade Status Tool    11-19-2020 06:30:0
Container Database: CDBDEV
[CON_ID: 2 => PDB$SEED]

Component                               Current         Full     Elapsed Time
Name                                    Status          Version  HH:MM:SS

Oracle Server                             VALID      19.3.0.0.0  00:34:10
JServer JAVA Virtual Machine              VALID      19.3.0.0.0  00:02:25
Oracle XDK                                VALID      19.3.0.0.0  00:01:19
Oracle Database Java Packages             VALID      19.3.0.0.0  00:00:10
OLAP Analytic Workspace                   VALID      19.3.0.0.0  00:00:55
Oracle Label Security                     VALID      19.3.0.0.0  00:00:11
Oracle Database Vault                     VALID      19.3.0.0.0  00:03:00
Oracle Text                               VALID      19.3.0.0.0  00:00:42
Oracle Workspace Manager                  VALID      19.3.0.0.0  00:00:52
Oracle Real Application Clusters     OPTION OFF      19.3.0.0.0  00:00:00
Oracle XML Database                       VALID      19.3.0.0.0  00:03:32
Oracle Multimedia                         VALID      19.3.0.0.0  00:00:46
Spatial                                   VALID      19.3.0.0.0  00:09:15
Oracle OLAP API                           VALID      19.3.0.0.0  00:00:26
Datapatch                                                        00:04:50
Final Actions                                                    00:05:11
Post Upgrade                                                     00:02:06
Post Compile                                                     00:11:29

Total Upgrade Time: 01:17:50 [CON_ID: 2 => PDB$SEED * ]
Asterisks denotes compilation time has been included during the upgrade process.

Database time zone version is 26. It is older than current release time
zone version 32. Time zone upgrade is needed using the DBMS_DST package.


Upgrade Times Sorted In Descending Order

Total Upgrade Time: 01:17:50 [CON_ID: 2 => PDB$SEED * ]
Total Upgrade Time: 01:06:31 [CON_ID: 1 => CDB$ROOT]
Total Upgrade Time: 01:06:12 [CON_ID: 3 => PDBDEV]
Grand Total Upgrade Time:    [0d:2h:42m:43s]
[oracle@new19c dbupgrade]$
Timezone file upgrade and database recompilation has already completed by the autoupgrade utility as the below values are adjusted as “yes” in the config file,
upg1.run_utlrp=yes =yes  # yes(default) to run utlrp as part of upgrade
upg1.timezone_upg=yes # yes(default) to upgrade timezone if needed
Check the Timezone version
SQL> SELECT VERSION FROM V$TIMEZONE_FILE;

   VERSION
----------
        32

SQL>
Check the db details
SQL> select name, open_mode, version, status from v$database, v$instance;

NAME      OPEN_MODE            VERSION           STATUS
--------- -------------------- ----------------- ------------
CDBDEV    READ WRITE           19.0.0.0.0        OPEN

SQL>
6. Post-upgrade task
Once the upgrade is successful and all testing is done, drop the restore point.
Drop the Guaranteed restore point
SQL> select name from v$restore_point;
NAME
------------------------------
AUTOUPGRADE_9212_CDBDEV122010
SQL>
SQL> drop restore point AUTOUPGRADE_9212_CDBDEV122010;
Restore point dropped.
SQL>
Change the compatible parameter
Note: After the upgrade, database has to be tested properly before updating the compatible parameter. Once the parameter is updated database cannot be downgraded.
show parameter compatible
alter system set compatible='19.0.0' scope=spfile;
shutdown immediate;
startup;
show parameter compatible

--output
SQL> show parameter compatible

NAME                                 TYPE        VALUE
------------------------------------ ----------- ------------------------------
compatible                           string      12.2.0
noncdb_compatible                    boolean     FALSE
SQL> alter system set compatible='19.0.0' scope=spfile;

System altered.

SQL> shutdown immediate;
Database closed.
Database dismounted.
ORACLE instance shut down.
SQL> startup
ORACLE instance started.

Total System Global Area 1560278096 bytes
Fixed Size                  9135184 bytes
Variable Size             973078528 bytes
Database Buffers          570425344 bytes
Redo Buffers                7639040 bytes
Database mounted.
Database opened.
SQL>
SQL> show parameter compatible

NAME                                 TYPE        VALUE
------------------------------------ ----------- ------------------------------
compatible                           string      19.0.0
noncdb_compatible                    boolean     FALSE
SQL>
It’s Done. Database is successfully upgraded from 12c to 19c.


 Visit Today :
  Total Visit : 359930
 Total Hits : 684787
 Who's Online :