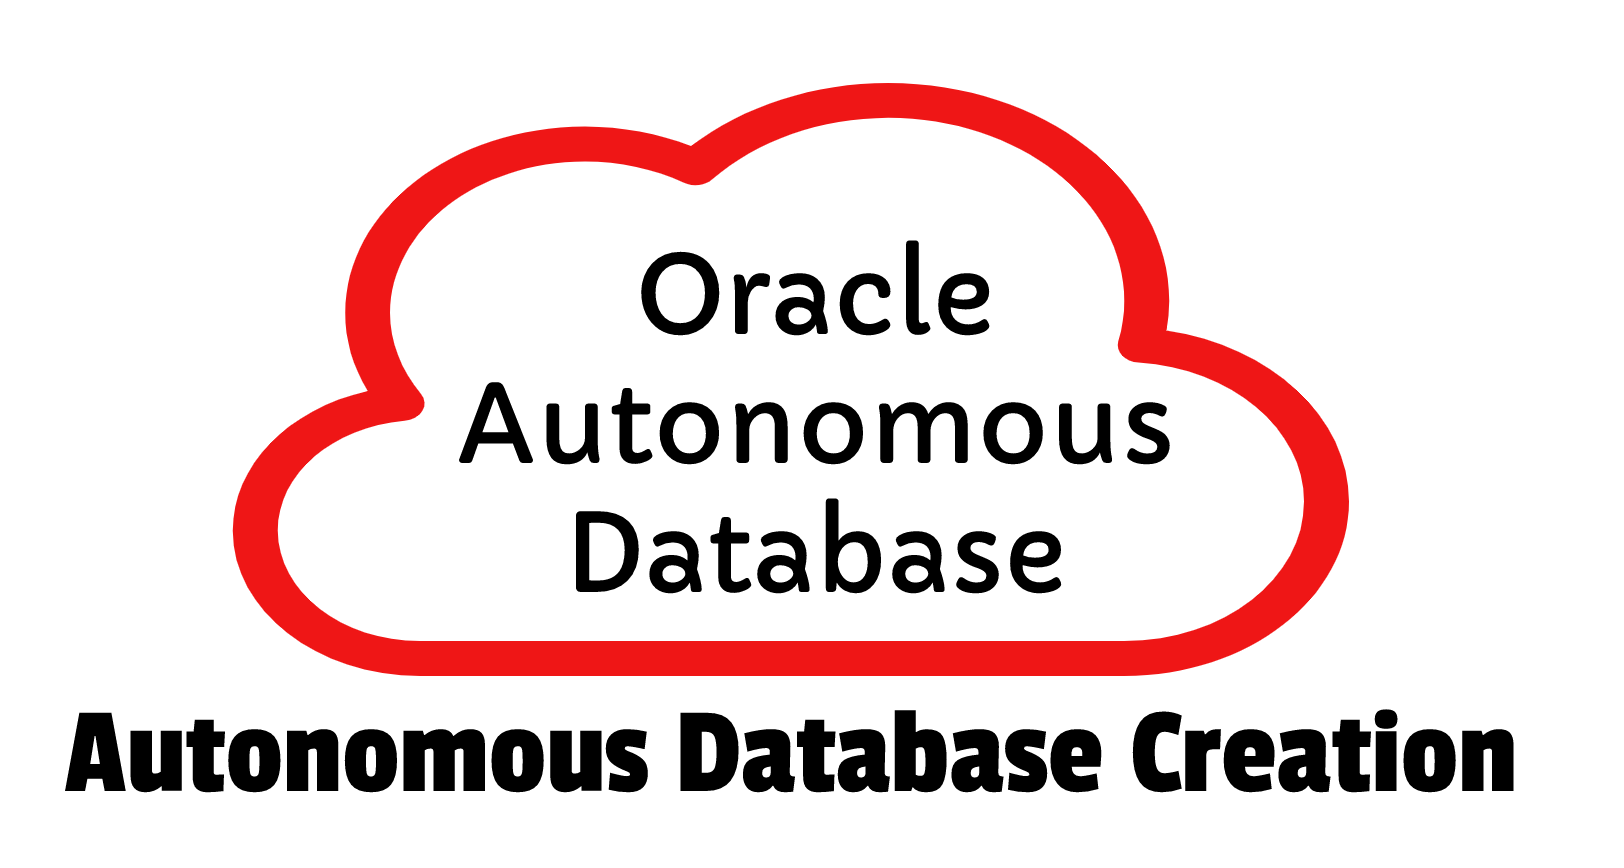
In this post I will describe the step by step creation of Oracle 19c Autonomous Transaction Processing Database in Oracle Cloud using OCI Console.
Oracle Cloud Free Tier will allows you to sign up for an Oracle Cloud account which provides a number of Always Free services and a free credit of 300$ which can be use on all eligible Oracle cloud Infrastructure services for up to 30 days. The Always Free services are available for an unlimited period of time. Kindly click here to know more in detail.
Refer the below article to get the step by step instruction on how to setup Network components and for creation of Virtual Machine on OCI Cloud
Step by step creation of Oracle cloud free tier account and creating a VM
The following steps will be covered in this article:
- Creation of Autonomous Database.
- Connecting to Autonomous Database.
Creation of Autonomous Database:
- Open the navigation menu. Under Core Infrastructure, click on Autonomous Transaction Processing.

2. Click on Create Autonomous Database

3. In Create Autonomous Database section Enter the below details:
Display Name, Database Name

Choose workload type: Transaction Processing
Deployment type: Shared Infrastructure

Choose the Database version, OCPU Count and Storage(TB)
Auto scaling should be enabled

Provide the Administrator Credentials

Choose the Access type & license type
Finally Create Autonomous Database

You can see the Provisioning the ATP database has started

After few minutes the ATP database is up and running

Connecting to Autonomous Database
To connect to Autonomous database we need to download the client credentials wallet
- From Autonomous database details page: Click on DB Connection

2. Select Download Wallet

3. Enter the credentials to protect wallet and Click on Download, once downloaded close the window.

Connect using SQL Developer
Open SQL Developer and create a new connection using Cloud Wallet

Once the connection is Success, click on Connect


 Visit Today : 55
 Total Visit : 476440
 Total Hits : 1241411
 Who's Online : 2